

School Drone Flight Site Assessment Checklist: A CTE Leader’s Guide
A school drone flight site assessment checklist gives CTE leaders a practical way to turn an available outdoor area into a managed learning environment. A field, courtyard, or parking lot may look open enough for a flight lesson, but the best site is not simply the largest empty space. It is a location where the school can define boundaries, keep people and vehicles out of the operating area, assign clear roles, and stop a lesson quickly when conditions change.
That distinction matters for every educator who wants drone learning to be repeatable. A careful assessment protects instructional time, helps teachers lead with confidence, and gives administrators a documented process they can support. It also creates the habits students will encounter in career-connected settings: inspecting a site, identifying hazards, communicating a plan, and making a disciplined go/no-go decision.
This guide walks CTE directors, administrators, and teachers through a school-focused site assessment. It is designed for planning a campus flight location, not for replacing FAA guidance, district policy, or local requirements. Start with the operating framework, then use the checklist to evaluate the physical site and the conditions of each flight day.
Why a Site Assessment Belongs in CTE Program Planning
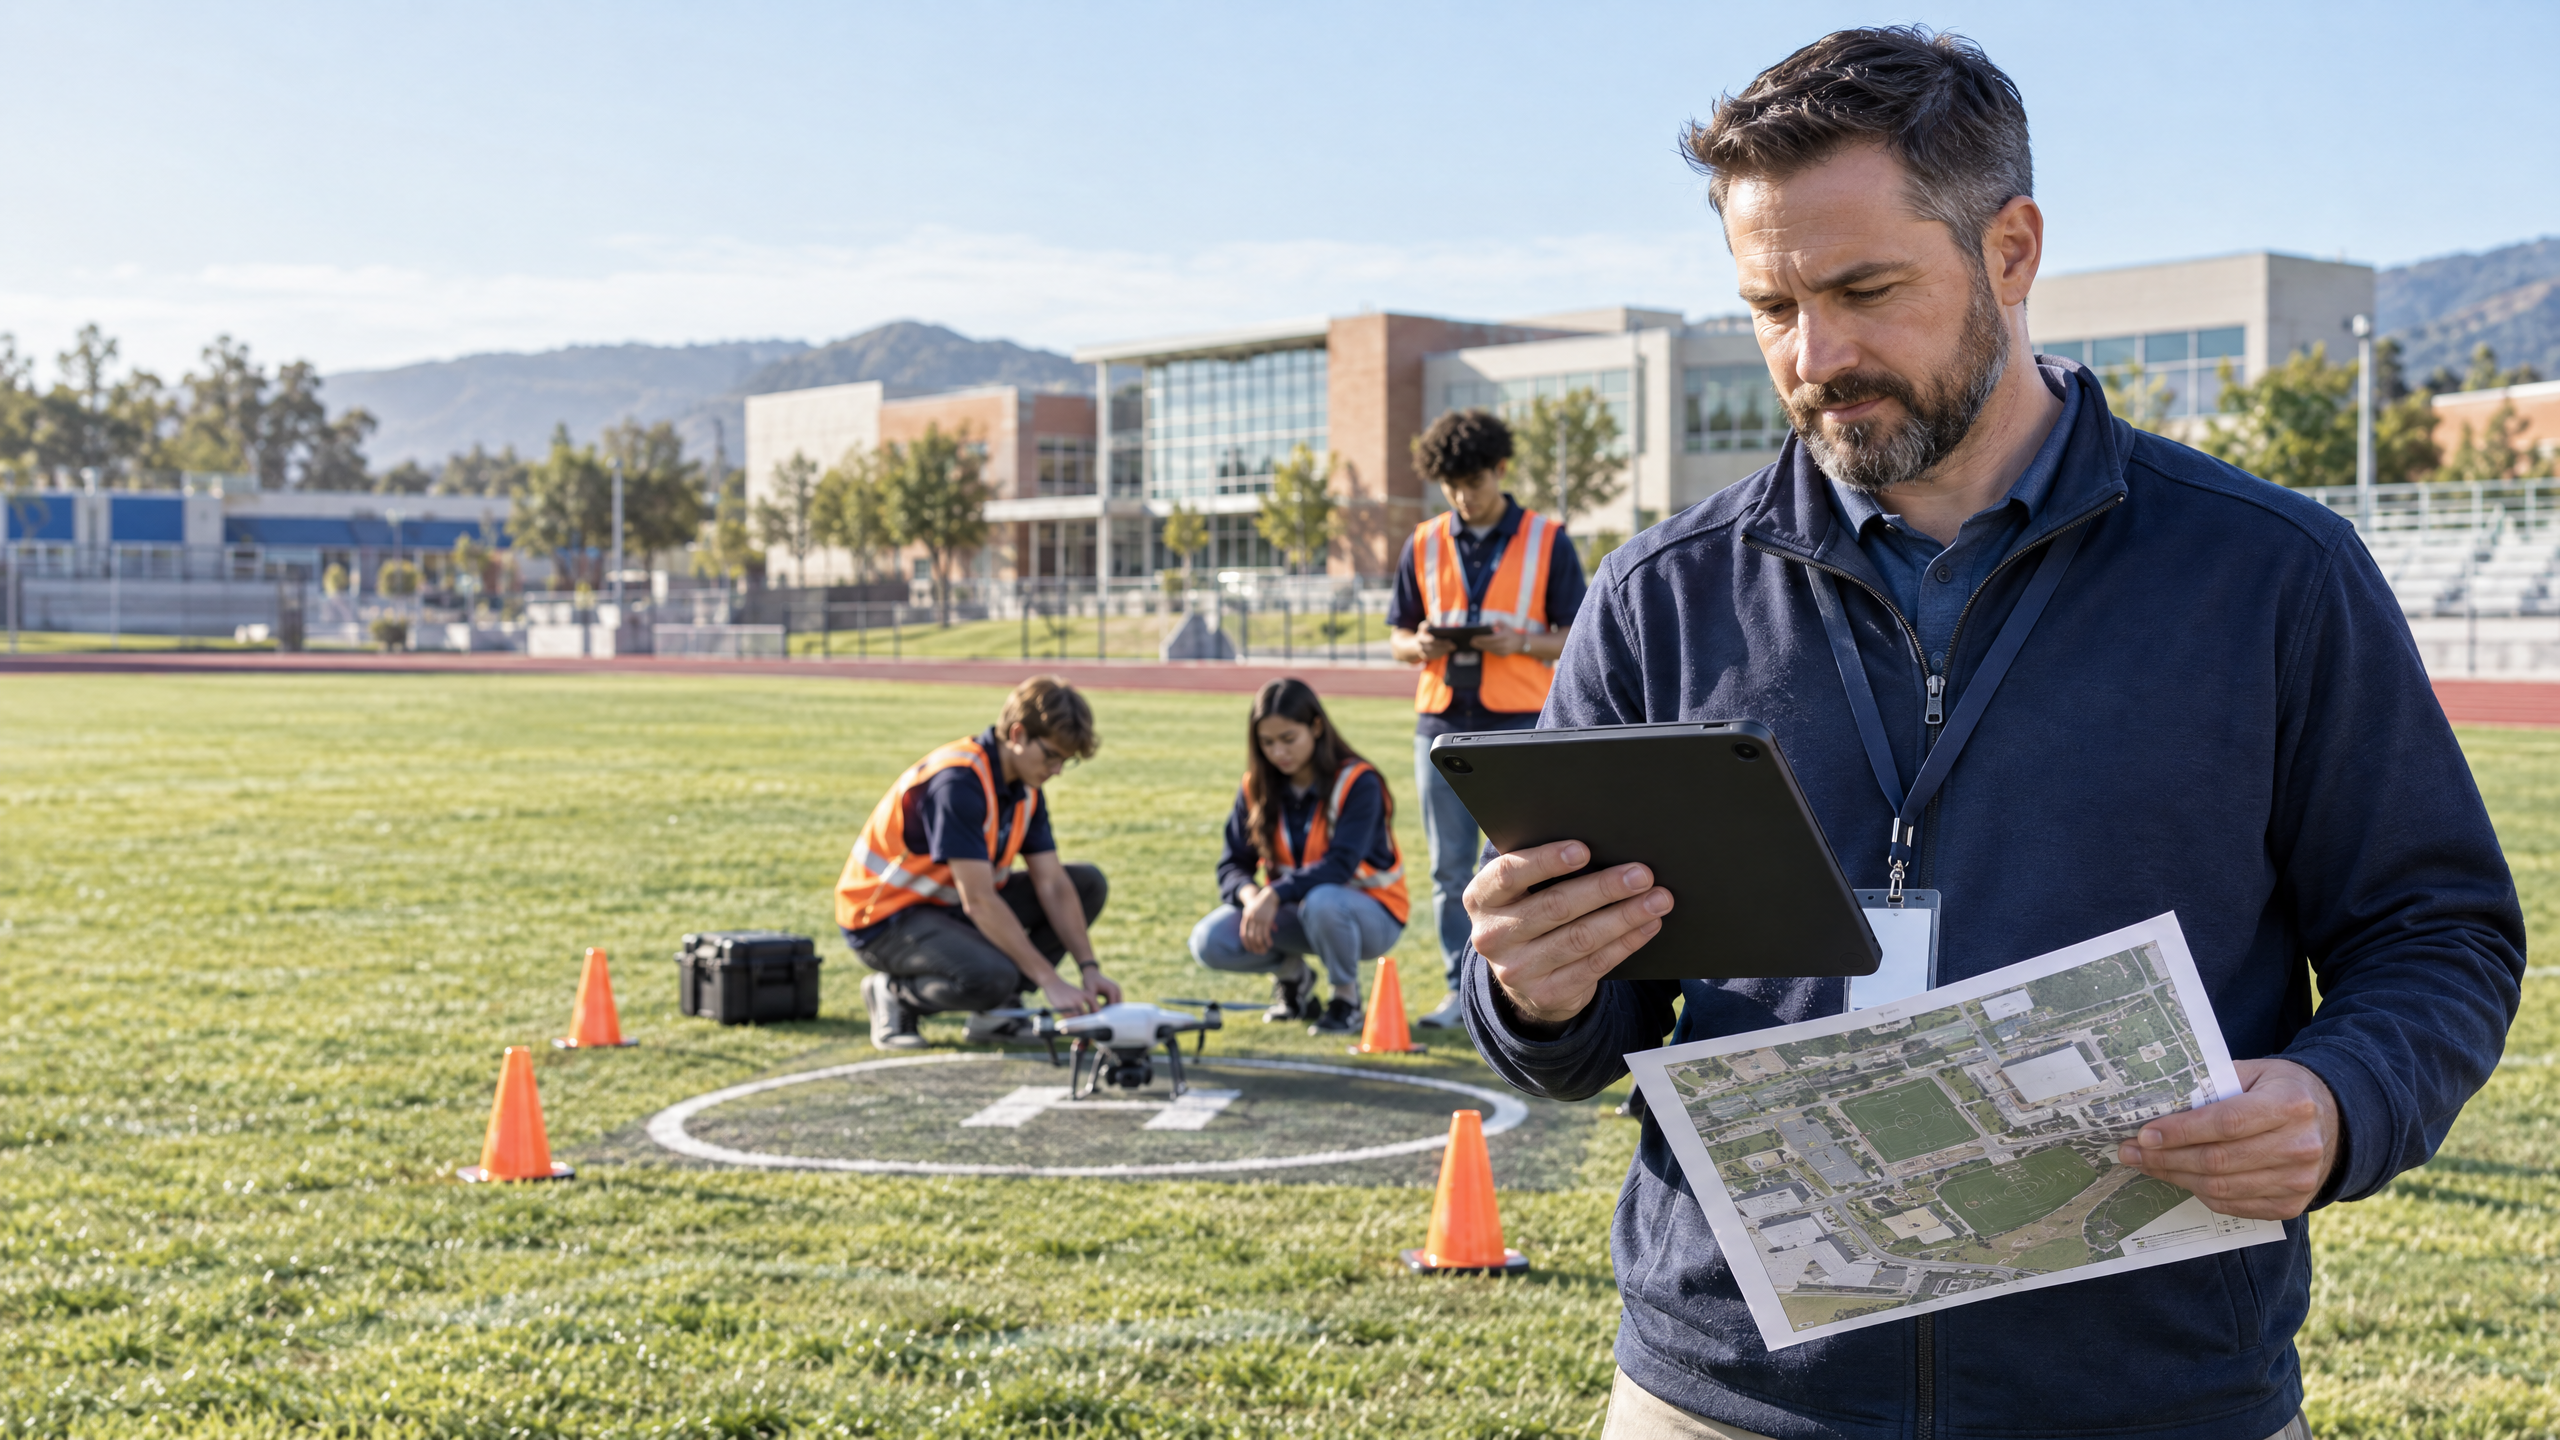
Drone instruction is strongest when the flight area supports the lesson instead of competing with it. When students can see a takeoff zone, a spectator boundary, a crew station, and an emergency stop area, the environment reinforces the professional routines the course is trying to teach. Teachers spend less time improvising around foot traffic or equipment issues, and more time coaching judgment, communication, and technical skill.
There is also a broad CTE case for creating structures that make hands-on learning sustainable. The National Center for Education Statistics reports that 85% of 2019 public and private high-school graduates had earned at least one CTE credit. That figure does not measure drone enrollment or guarantee a particular outcome, but it shows the scale at which schools already rely on career-connected coursework. A well-run drone site can help an aviation, engineering, geospatial, agriculture, or technology pathway deliver that work with consistency.
A school drone program becomes easier to teach when the flight site makes safe decisions visible before the first propeller turns.
A site assessment also gives the program a shared operating picture. Facilities staff know what area is reserved. Administrators can see how dismissal, athletics, buses, and visitors affect the plan. Teachers can prepare indoor alternatives when conditions are unsuitable. Students learn that a drone mission begins with observation and communication, not an automatic takeoff.
Step 1: Confirm the Operating Framework Before Choosing a Field
Begin with the question, “How will our school operate?” The FAA explains that educational drone use is regulated under the Exception for Limited Recreational Operations or the Small Unmanned Aircraft Systems Rule, known as Part 107. Education itself is not a blanket exemption. The FAA notes that an educational organization that is not an institution of higher education or a JROTC program must be chartered by an FAA-recognized community-based organization to operate under the §44809 educational and research provision; otherwise, Part 107 applies. Review the FAA’s current Educational Users guidance alongside district policy before scheduling outdoor flight.
This step changes the rest of the assessment. The person accountable for the operation, the aircraft registration, the safety briefing, and the documentation should be clear before equipment reaches the field. If the program operates under Part 107, the FAA says the remote pilot in command needs the appropriate certificate or must supervise the operation as allowed by the rule. It is equally important not to imply that every student needs a Remote Pilot Certificate to participate in a class. The credential requirement is tied to the Part 107 operation and operator role, not to every student learning about aviation.
Step 2: Map the Physical Site and Its Ground-Risk Zones
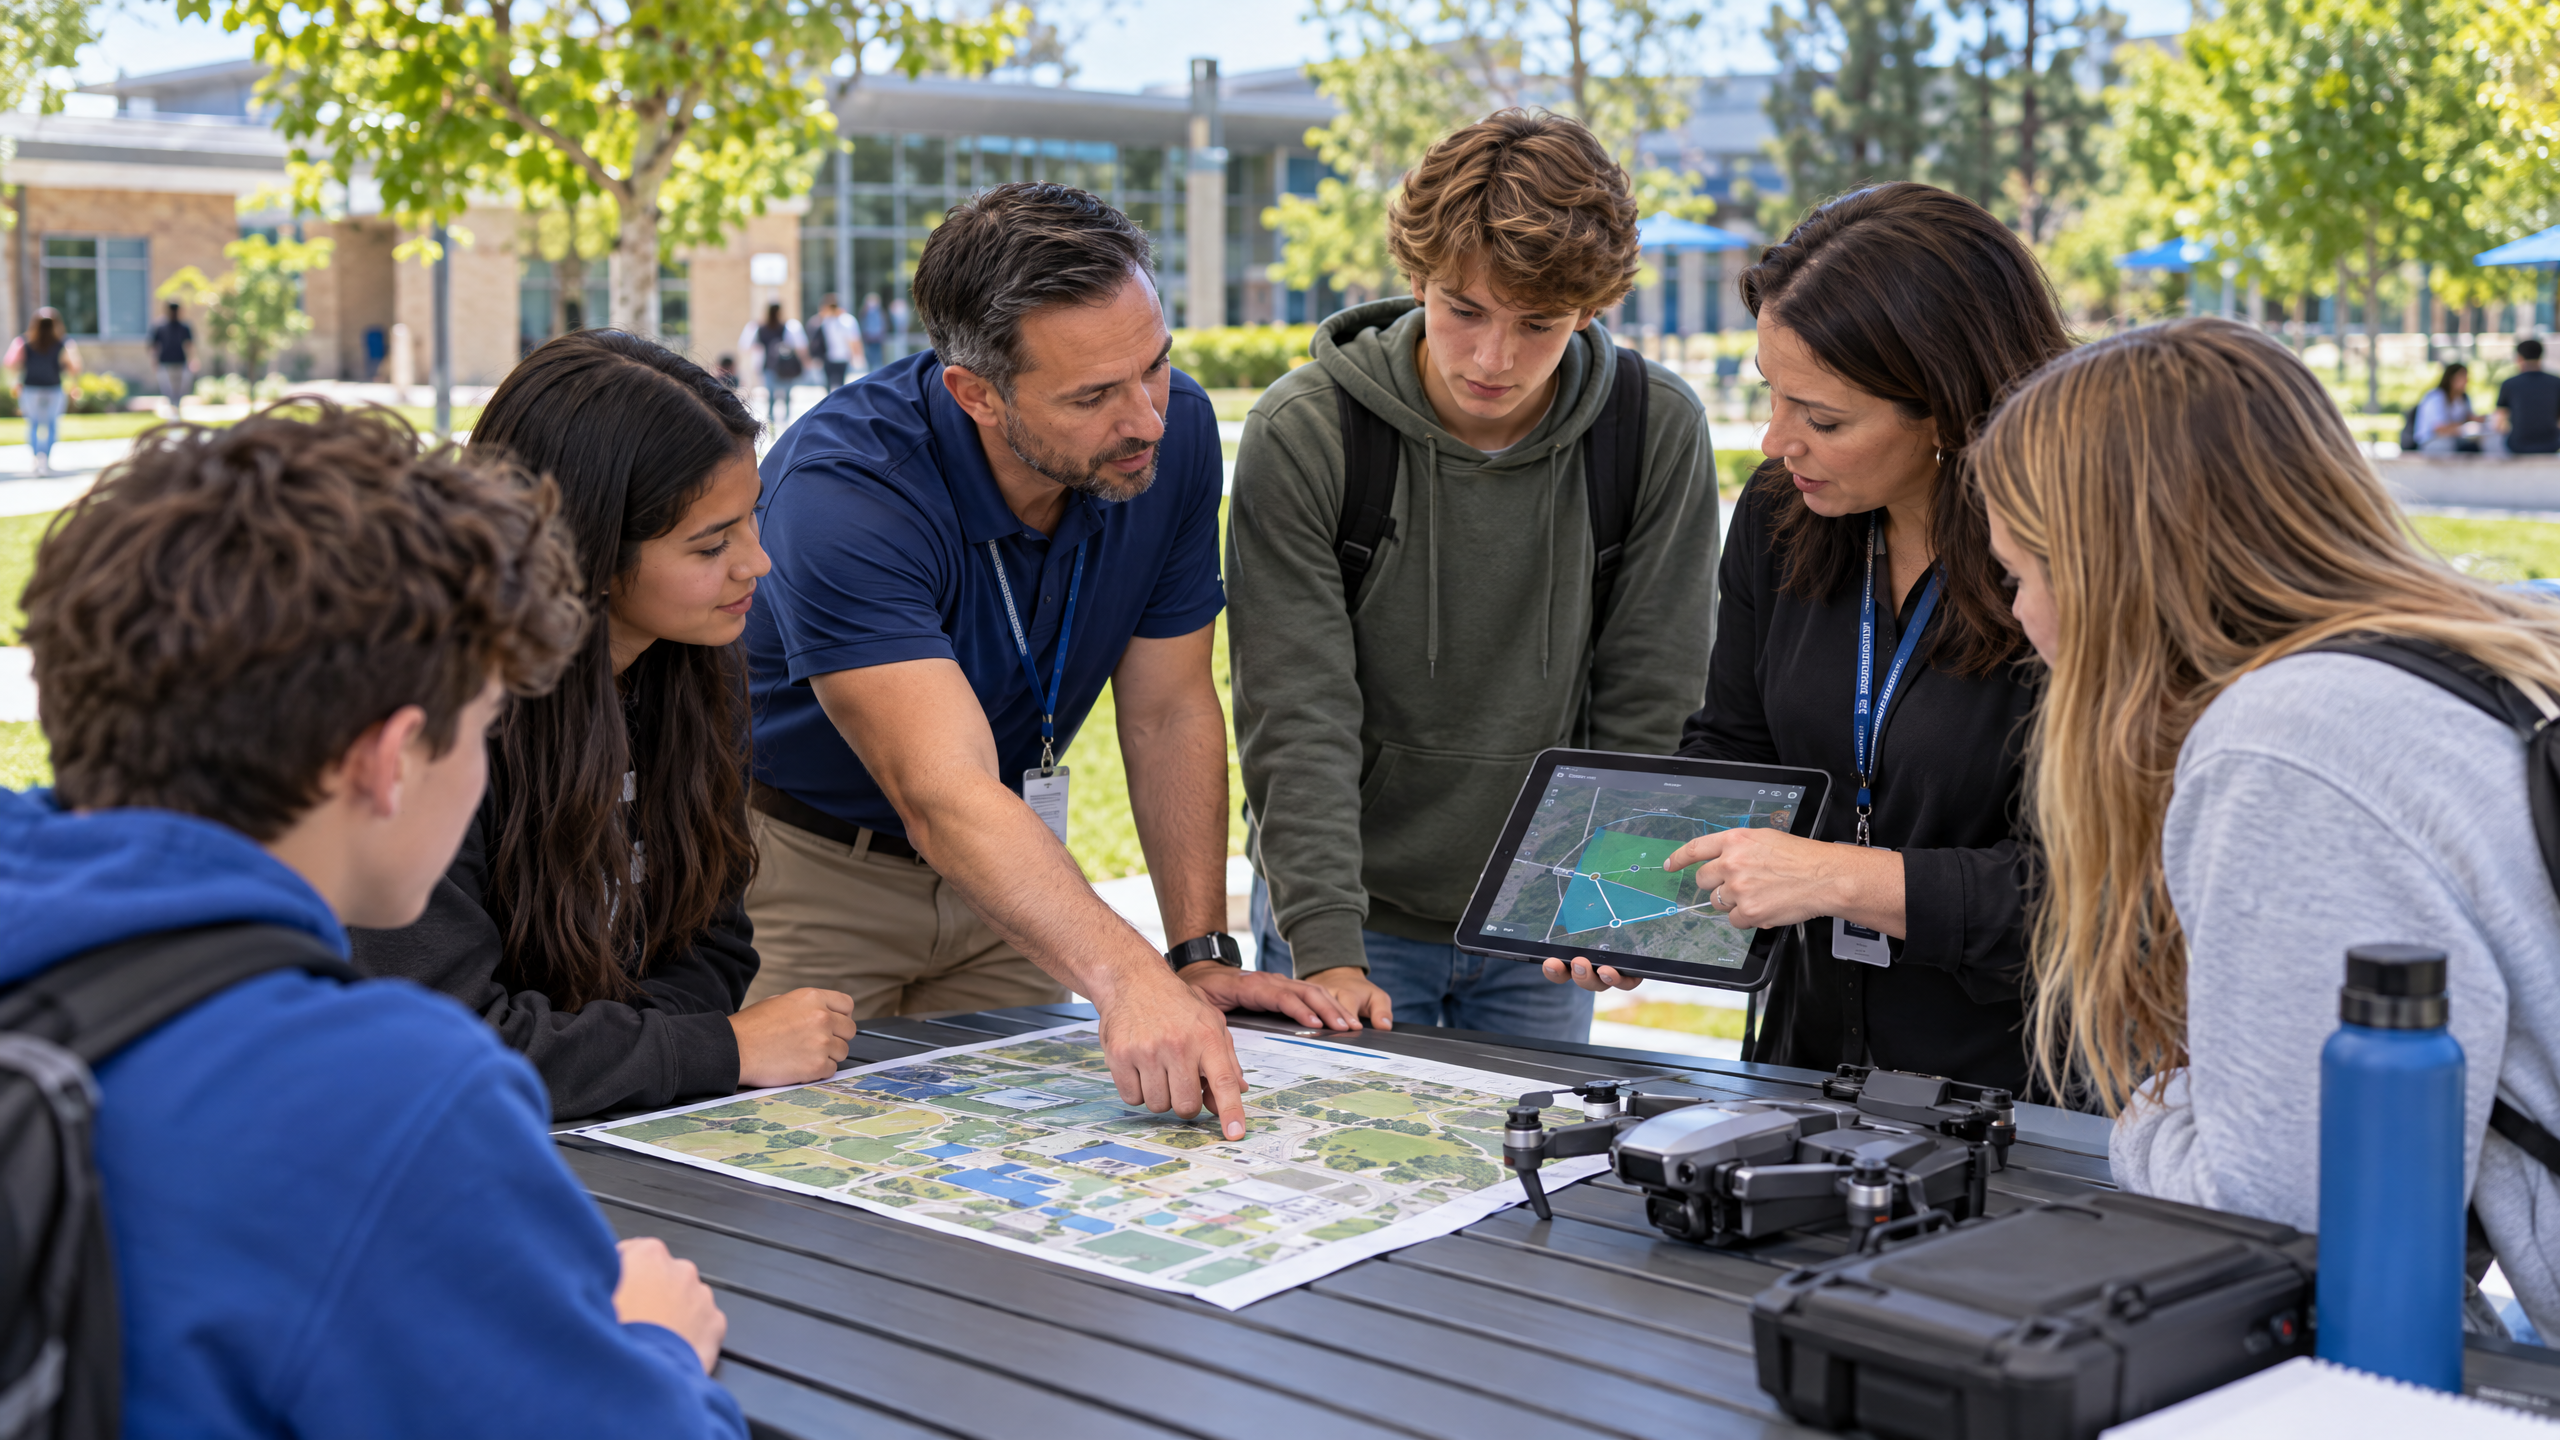
Once the operating model is clear, walk the candidate location at the time you expect to teach. Do not assess a field at 7:00 a.m. and assume it will behave the same way during a busy afternoon transition. Note nearby doors, sidewalks, bus lanes, parking areas, athletic practices, construction, utility lines, trees, bleachers, and places where people naturally gather. Look up as well as down: branches, poles, scoreboards, and overhead lines can turn a seemingly open area into a poor training environment.
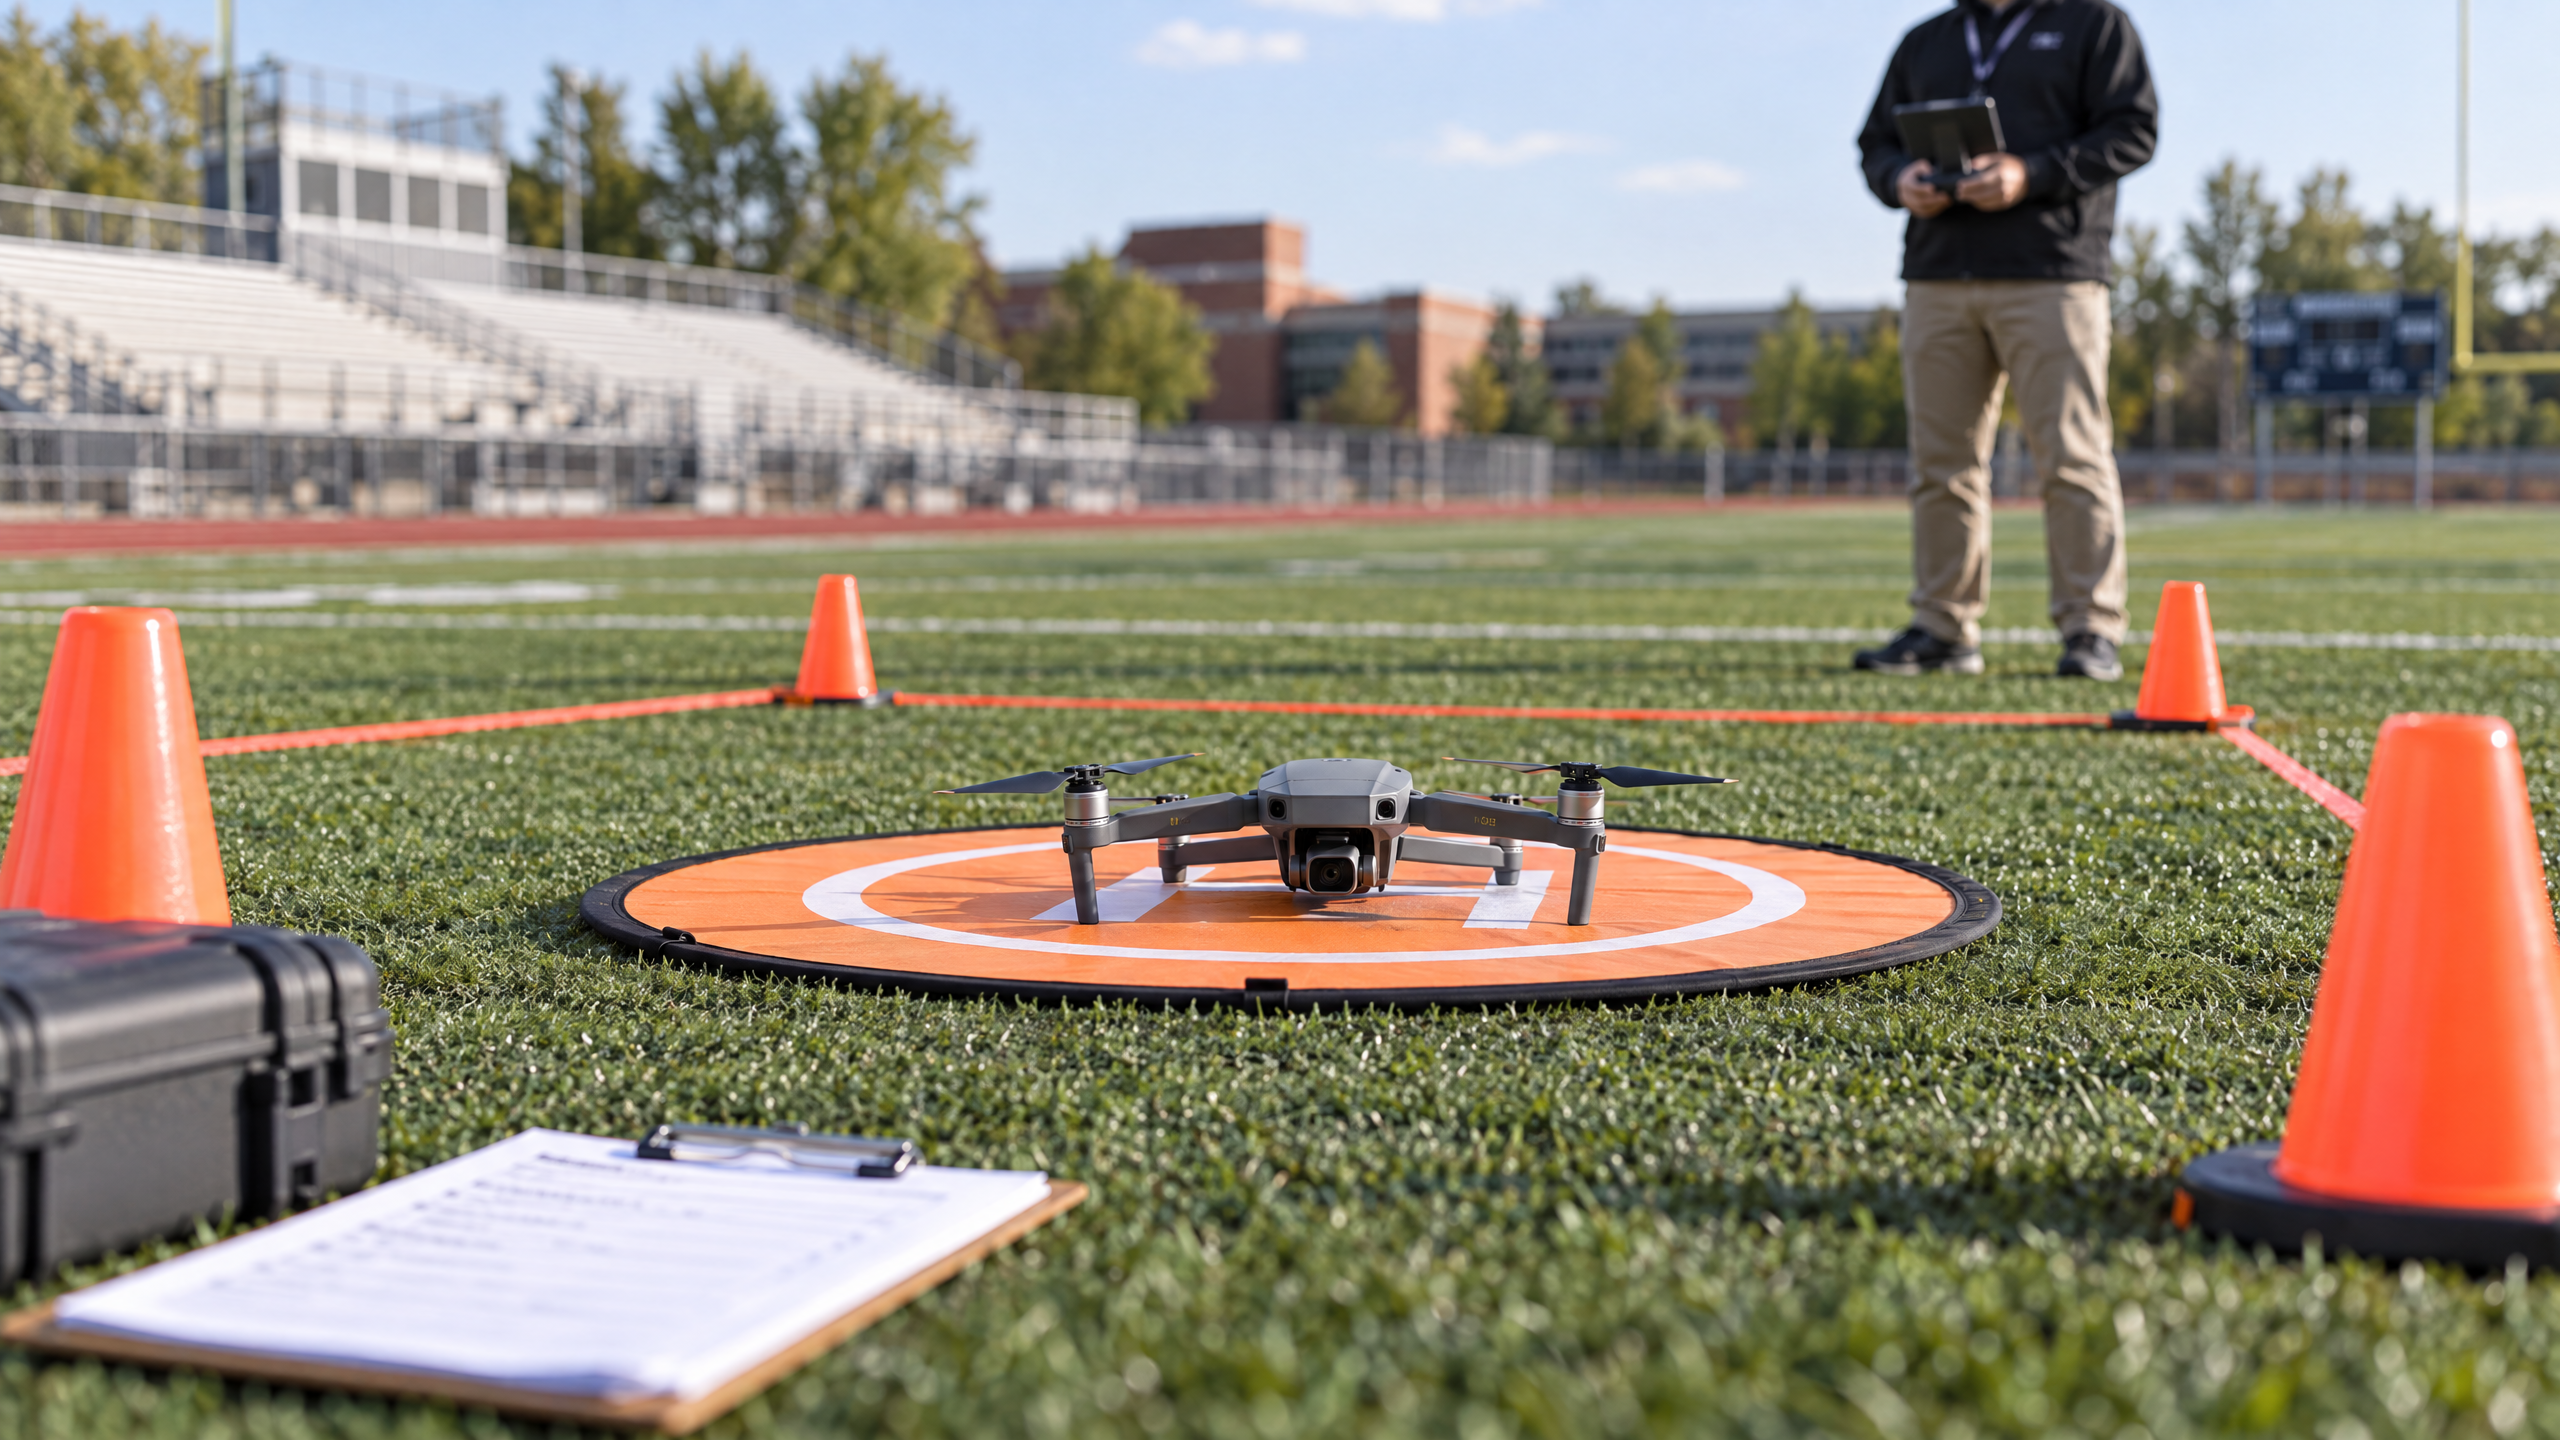
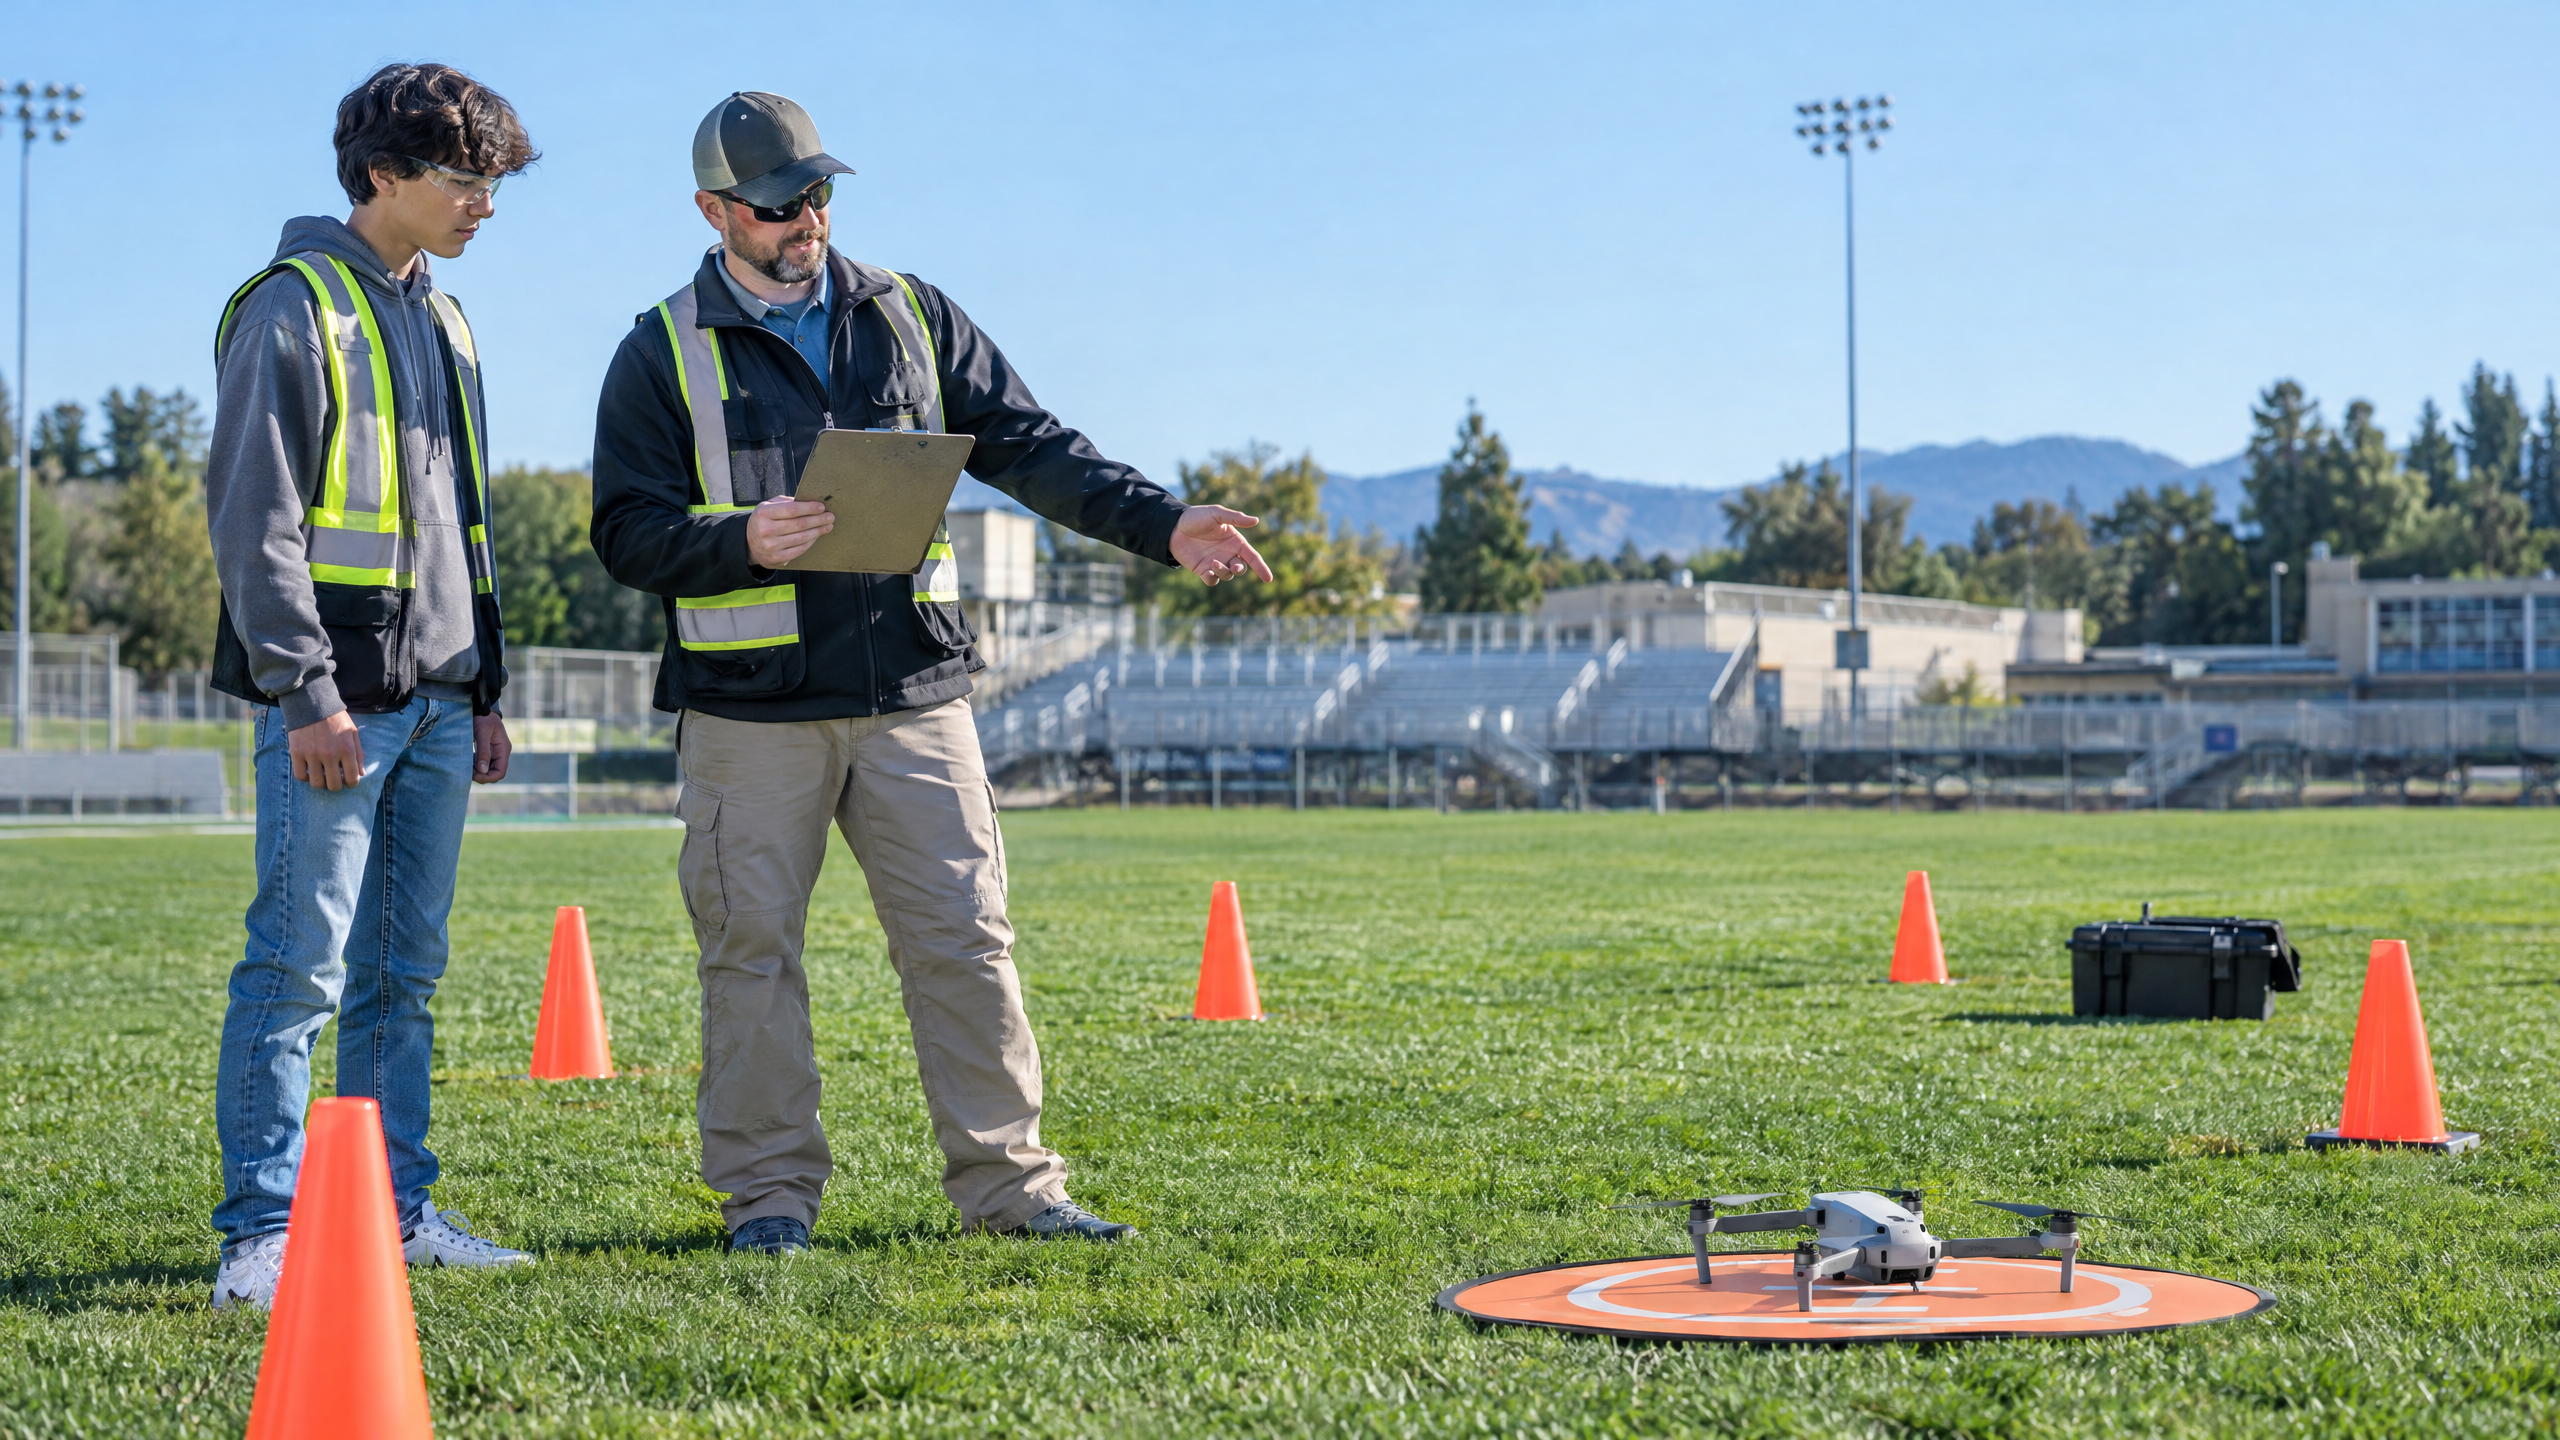
Then map three simple zones. The green zone is the protected takeoff and landing area. Only the authorized crew enters it, and the aircraft never launches until the boundary is in place. The yellow zone is the crew workspace for the teacher, visual observer, student pilots, batteries, checklist, and equipment cases. The red zone is the surrounding area to keep clear of pedestrians, vehicles, and unrelated classes. Use cones, signs, or a staff member only as part of a real access-control plan; markers without supervision do not control a campus walkway.
Choose a site with room for an observer to see both the aircraft and the edge of the operating area. Consider whether the instructor can pause a lesson without raising their voice across a large field. Confirm that emergency access stays open and that the team has a defined route for ending the operation if an activity, vehicle, or person enters the red zone. The goal is not to create a complicated airfield. It is to make the safe behavior the easiest behavior.
Step 3: Evaluate Airspace, Aircraft, and Flight-Day Constraints
A campus site is only suitable on a particular day when the airspace, weather, aircraft, and crew conditions support the plan. For each flight day, assign one adult or qualified operational lead to check the appropriate FAA sources for airspace restrictions, temporary flight restrictions, and applicable authorizations. If the operation is under Part 107, the FAA’s core rule includes a standard maximum altitude of 400 feet above ground level, subject to the rule’s structure allowance. That ceiling is not a school flight target; most instructional flights should remain far lower and within the course’s defined boundary.
Check each aircraft before it enters the green zone. The FAA states that drones requiring registration must be registered, and that Part 107 registration is per aircraft. Registration, Remote ID compliance, and pilot certification are separate responsibilities, so keep them as separate lines in the program’s records. Inspect the airframe, propellers, battery condition, controller link, and required labels. Build a weather threshold into the lesson plan instead of asking students to decide by instinct in the moment.
Step 4: Turn the Site Into a Managed Instructional Environment
A safe location still needs a crew plan. Assign roles before the class walks outside: the instructor or accountable operational lead, the student at the controls when appropriate, a visual observer, a safety officer watching the boundary, and a recorder documenting the mission. In a smaller class, students can rotate through the roles, but no one should hold two safety-critical responsibilities at the same time just to keep the lesson moving.
Build non-flying stations around the operating area so every student has purposeful work. One group can complete a preflight inspection, another can review a mission objective and weather conditions, and another can practice visual-observer communication or update the flight log. These stations make the program more inclusive, reduce crowding near the aircraft, and prevent a flight lesson from becoming a long line of students waiting for a controller.
Include privacy and campus communication in the briefing. Define what the class will and will not photograph, where captured media is stored, and who may speak with a visitor or staff member who approaches the boundary. A clear plan supports teacher confidence and helps the school keep instructional objectives at the center of the lesson.
Step 5: Run a Low-Risk Trial and Document the Site
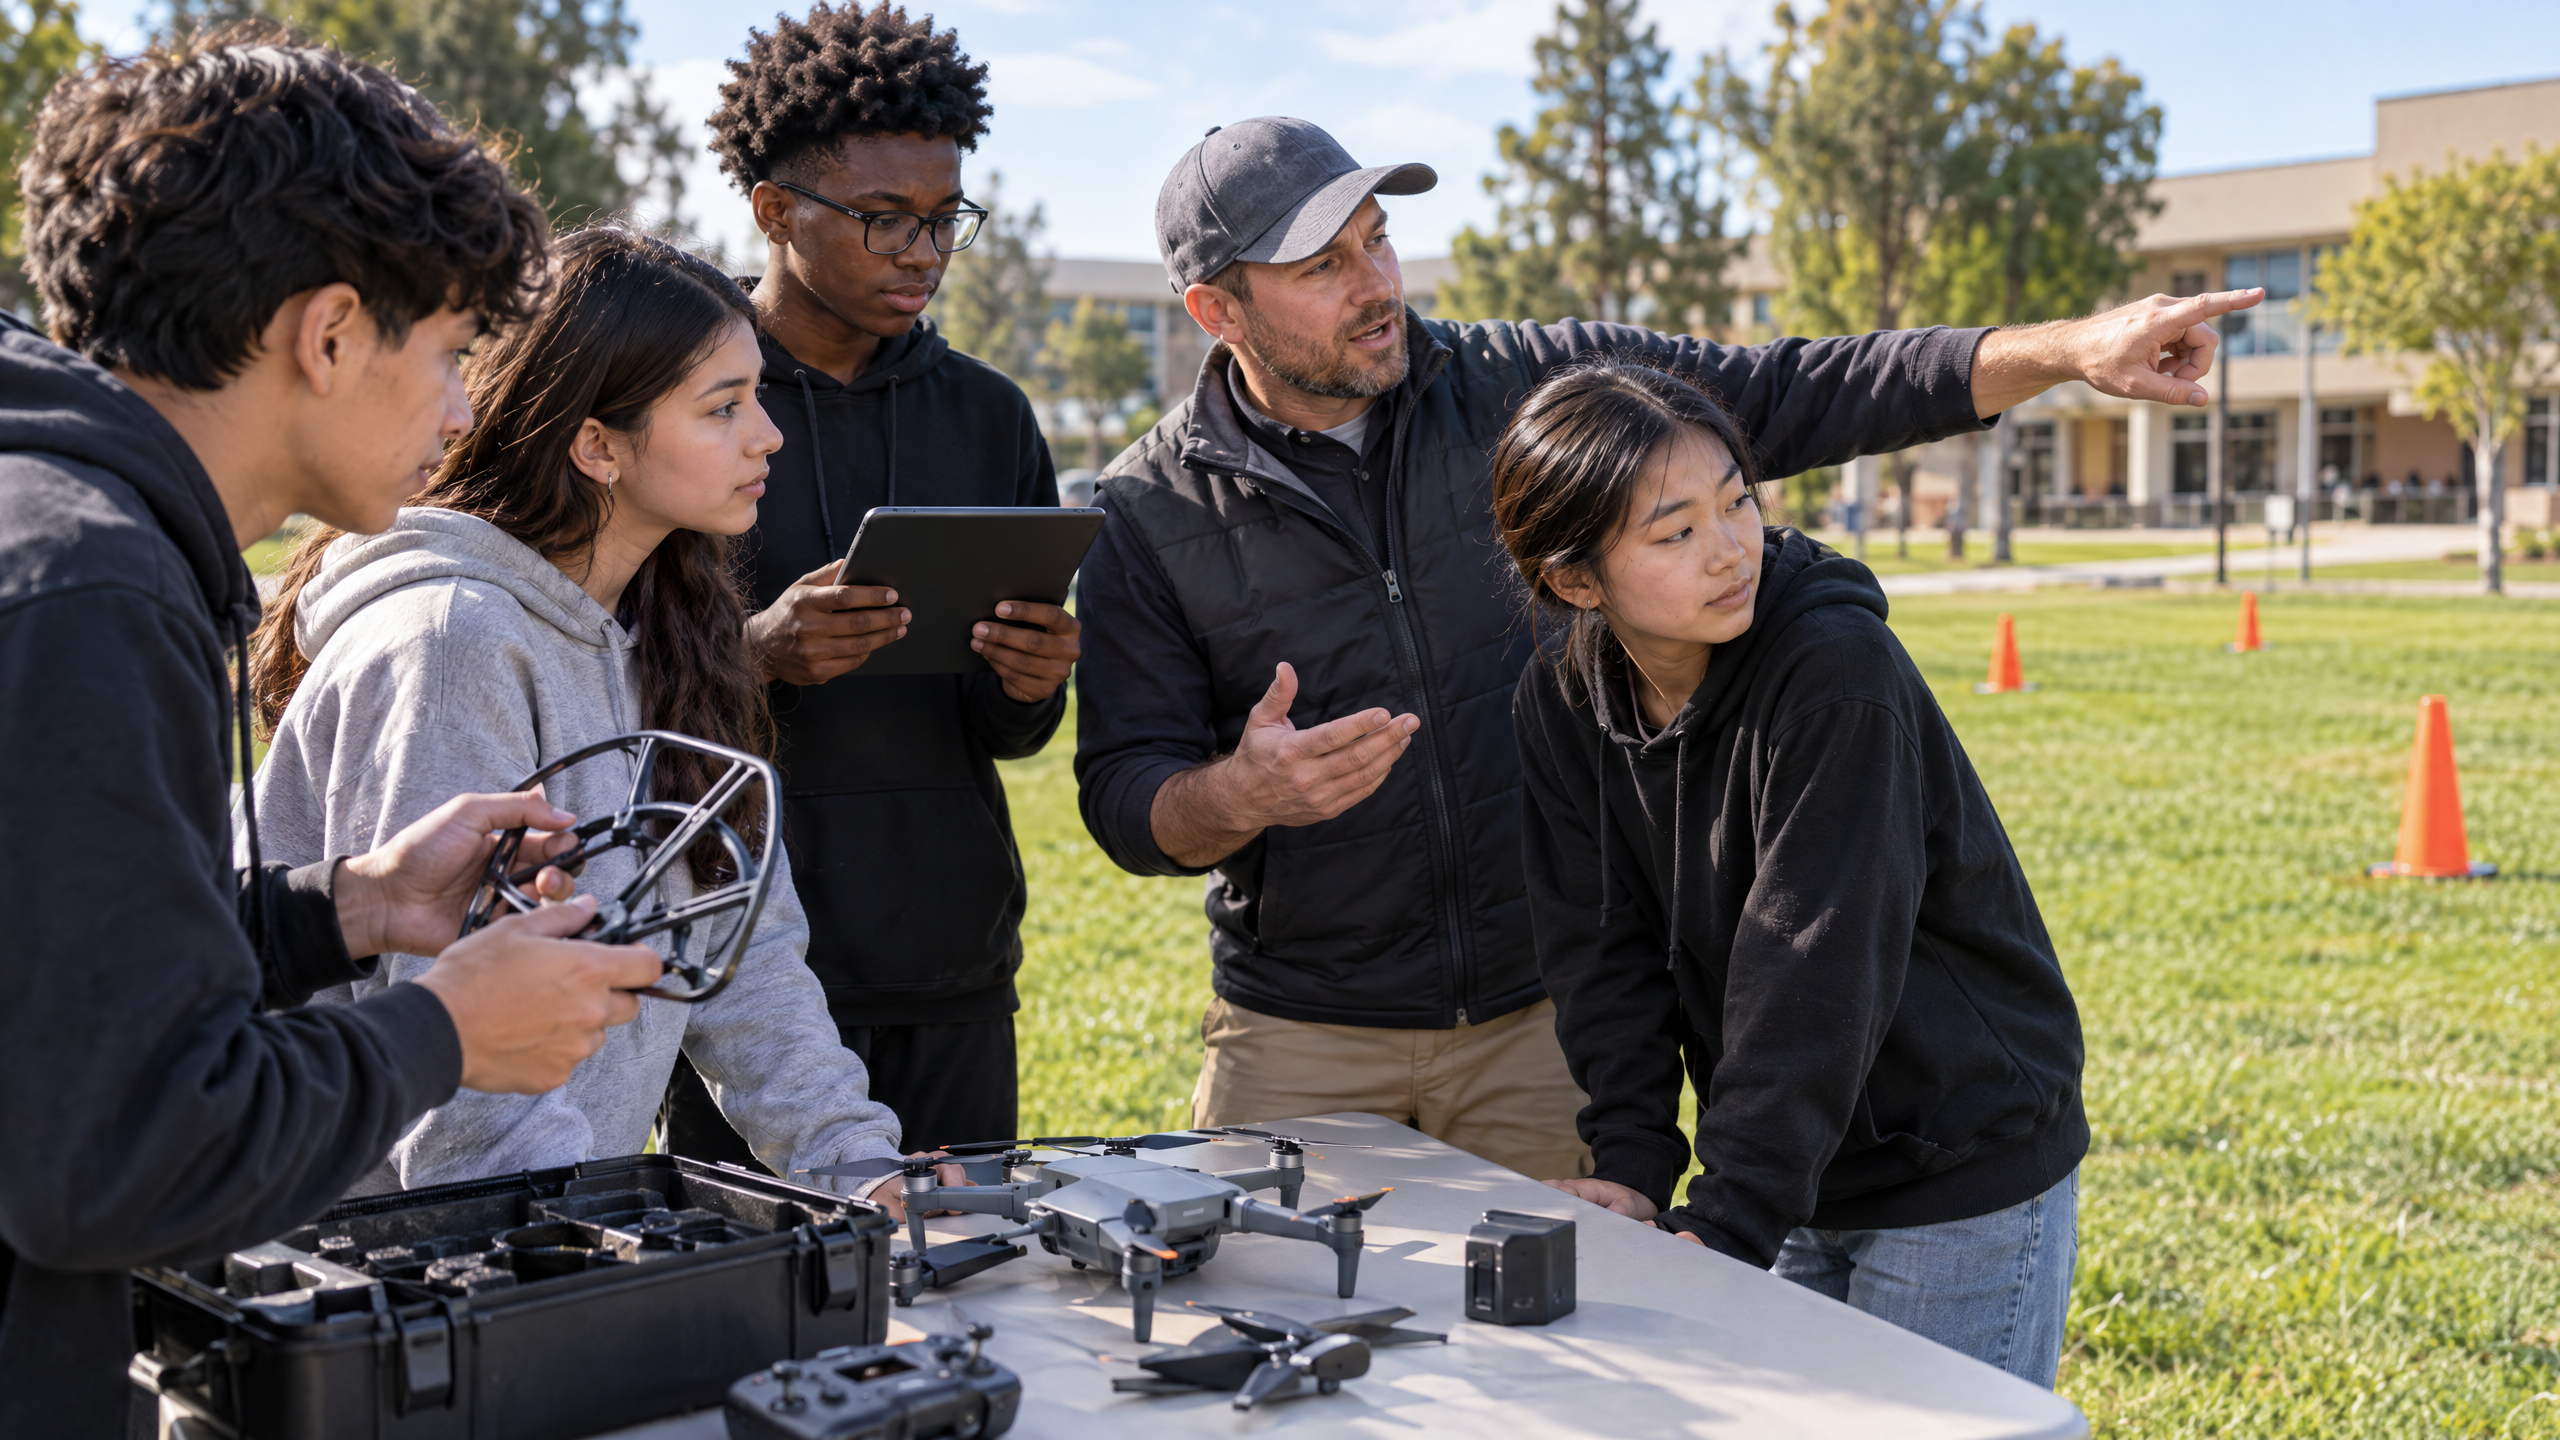
Before using a new location with a full class, run a short trial with the teacher, operational lead, and any relevant campus partners. Test the actual layout: place the cones, stand in the observer position, rehearse the crew briefing, and time how long it takes to rotate one student team. Notice sightline problems, noise, foot traffic, and wind patterns that were not obvious on paper.
Record the result in a site assessment file. Include a simple map, photos of boundaries without identifying students, the normal flight configuration, known hazards, indoor fallback plan, emergency-shutdown language, and the date of the last review. Revisit the file after construction, seasonal changes, a schedule change, or any incident or near miss. A documented site can improve over time; an informal arrangement is easy to forget.
Ready to Build a More Confident Drone Program?
See how a structured curriculum can help your team make every flight lesson more confident.
Reusable School Drone Flight Site Assessment Checklist
Use this short checklist before a new site is approved and again before a scheduled outdoor flight. Adapt it to the school’s operating framework and local procedures.
- Operating pathway: The team has confirmed the applicable FAA framework, district requirements, and operational authority.
- Airspace and weather: The responsible lead has completed the required review and conditions meet the program’s thresholds.
- Campus activity: No dismissal, athletics, maintenance, buses, events, or pedestrian patterns compromise the planned boundary.
- Ground layout: The takeoff/landing area, crew station, spectator boundary, and emergency route are visible and controlled.
- Aircraft readiness: The aircraft, batteries, controller, documentation, and applicable registration or Remote ID requirements have been checked.
- Crew readiness: Each person knows the role, communication cue, stop command, and what happens if someone enters the operating area.
- Learning plan: A non-flight alternative is ready if the operation is paused or cancelled.
Common Site-Assessment Mistakes to Avoid
The most common mistake is treating the biggest lawn as automatically safe. Size does not solve poor sightlines, nearby doors, wind exposure, utility lines, or access-control problems. A smaller but more contained location may be a better instructional choice. Another mistake is setting out cones and assuming the boundary will hold on its own. The crew needs a clear observer position and a stop procedure for people, vehicles, or changing activities.
Programs also run into trouble when they treat approval as permanent. A site that worked last semester may change because of construction, seasonal sports, a new traffic pattern, or a campus event. Review locations routinely and after any meaningful change. Finally, avoid making one teacher the pilot, instructor, observer, crowd manager, and equipment manager at once. The purpose of crew roles is to distribute attention so no essential safety decision is overlooked.
A good assessment never depends on an outdoor flight happening at all costs. Build simulation, mission-planning, maintenance, mapping, and analysis into the course so a weather or site cancellation remains a productive learning day. That flexibility is one of the strongest signs that a drone program is designed for real school operations.
Build a Flight Site That Teachers Can Use With Confidence
A school drone flight site assessment checklist is a foundation for better instruction. It helps leaders connect FAA awareness, campus coordination, equipment care, and student roles into one repeatable routine. When the site is mapped, the crew is prepared, and the go/no-go decision is respected, teachers can focus on what matters most: helping students practice sound technical judgment.
Keep the checklist simple enough to use, but specific enough to reveal problems before they interrupt a lesson. Start with one manageable location, document what works, and refine the process with the people who use it. The result is not just a safer place to fly. It is a more durable CTE learning environment.
Key Takeaways
- A strong school drone flight site is defined by controlled boundaries, clear crew roles, and a documented stop procedure.
- Education is not a blanket FAA exemption; confirm the school’s operating framework before planning outdoor flights.
- Assess the physical site at the actual teaching time, including doors, foot traffic, vehicles, athletics, utilities, and emergency access.
- Separate airspace, weather, aircraft readiness, registration or Remote ID requirements, and pilot qualifications in the program’s records.
- Prepare meaningful non-flight stations so a paused or cancelled operation still advances the CTE lesson.
Build a More Confident Drone Program
See how Drone Launch Learning helps educators deliver structured, career-connected drone learning with classroom-ready curriculum and implementation support.
Sources
- Federal Aviation Administration — Educational Users
- Federal Aviation Administration — Small Unmanned Aircraft Systems Regulations (Part 107)
- Federal Aviation Administration — How to Register Your Drone
- Federal Aviation Administration — Become a Certificated Remote Pilot
- National Center for Education Statistics — Career and Technical Education in the United States
- Federal Aviation Administration — UAS Compendium to the FAA Aerospace Forecast 2026–2046